I haven't blogged for some time, so while I get back into the swing of it, I thought that I'd revisit this post from an earlier blog. It's still relevant and gives an insight into the processes involved in creating a Wild Rose Designs handmade bag.
This stage usually finds me, cup of tea in hand, sitting with a pencil and notepad doodling and playing with different shapes until I hit upon a design that I like and think will work on a practical level. I'll spend time refining it, changing some details and adding others until I'm completely happy. this is usually a quick process and probably takes around 15 minutes or so.
- Stage 2. Making the pattern pieces
I use heavy lining paper for my pattern pieces as thin paper isn't up to the job. Experience has taught me the shape and proportions that the pieces need to have and I'll draw them using a sharp pencil and a ruler/pattern curve for accuracy. Sometimes I'll need to adjust them, rubbing out and re-drawing until they're right. They are then cut out - using sharp paper scissors and not my dressmaking shears obviously! They'll be labelled so that I know what bag and what part of the bag they're for. Pattern pieces will also be needed for any pockets, bag flaps and handles. This stage can take up to 1/2 an hour.
My bags are usually made up of at least 4 different layers;
The main or outer fabric/s
Interfacing - to stabilise and give body to the fabric (essential with flimsy fabrics)
Lining - this is the fabric that you see on the inside
Interlining/fleece/wadding - these give the bag structure and thickness and makes it feel more substantial
The pattern pieces will need pinning to each of these materials in turn and cut out, some of them will be used many times over, hence the use of heavy lining paper. This stage can take up to an hour depending on the complexity of the bag and the number of pattern pieces involved.
This is the most time-consuming element and involves attaching the interfacing and interlining to the relevant fabric pieces, making and attaching any pockets, inserting zips, making and attaching any handles, and applying labels and fastenings. The bag is then assembled and sewn with matching thread, of course everything is pressed at each stage. All this takes hours, sometimes even a whole day especially if I suddenly realise that it would be better to do things in a slightly different order or to use a slightly different method, but it's all part of the process.
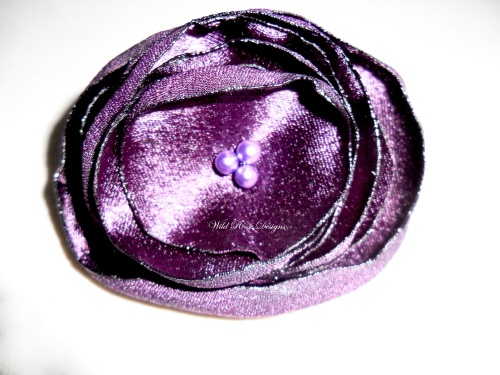
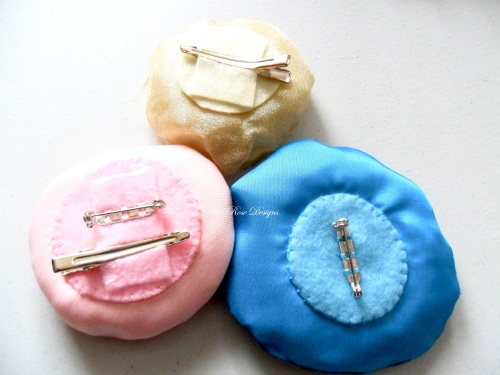
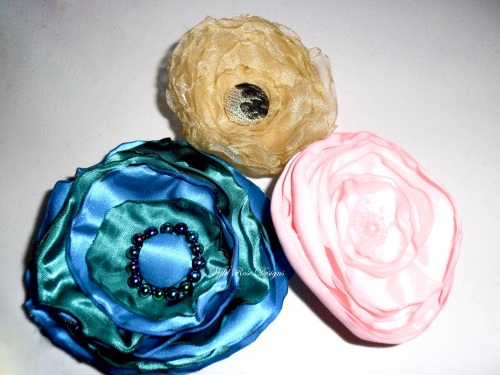
This is the fun part! Making and applying any flower trims, brooches, beads, embroidery etc. Though sometimes this needs to be done before the bag is made up. This process can take anything from 1/2 an hour to several hours, depending on how elaborate the embellishments are.
Once the bag is completed I need to take photographs of it from different angles and showing the inside as I need to give people as much information as possible. The photos are then uploaded to my computer where I will edit them, cropping and brightening them so that every detail is visible. I'll also tag them and give them a title. This will take 20 minutes or so as I also need to set up my light tent.
This is where the finished product is put on my website. I need to upload the edited photos, and write an informative description detailing sizes, fabrics and colours. If I list the bag in each of my shops: my Wild Rose Designs website, my Folksy shop and my Etsy shop, I'll need three slightly different descriptions as google doesn't like duplication! Then I need to work out what I'm going to charge for the bag taking into account:
Cost of materials
Hours taken
Commission that I will have to pay when I make a sale - PayPal, Etsy and Folksy commission and the cost of my website.
It all adds up
When I've sold a bag, it's carefully wrapped in a double layer of acid free tissue and tied with ribbon with a business card tucked in. It's then placed in a postal box that has another layer of tissue in and may need packing out with more scrunched up tissue. The box is carefully sealed with parcel tape, before I take it to the Post Office.
So you can see that there is rather more work involved in the creation of a handmade bag than you may have thought. No wonder I sometimes think I'm not paying myself enough!!!
